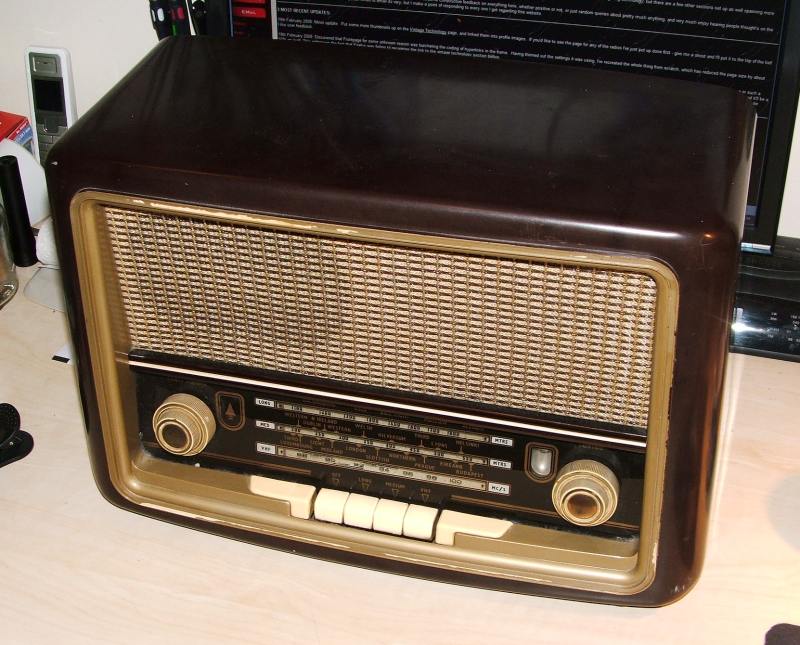
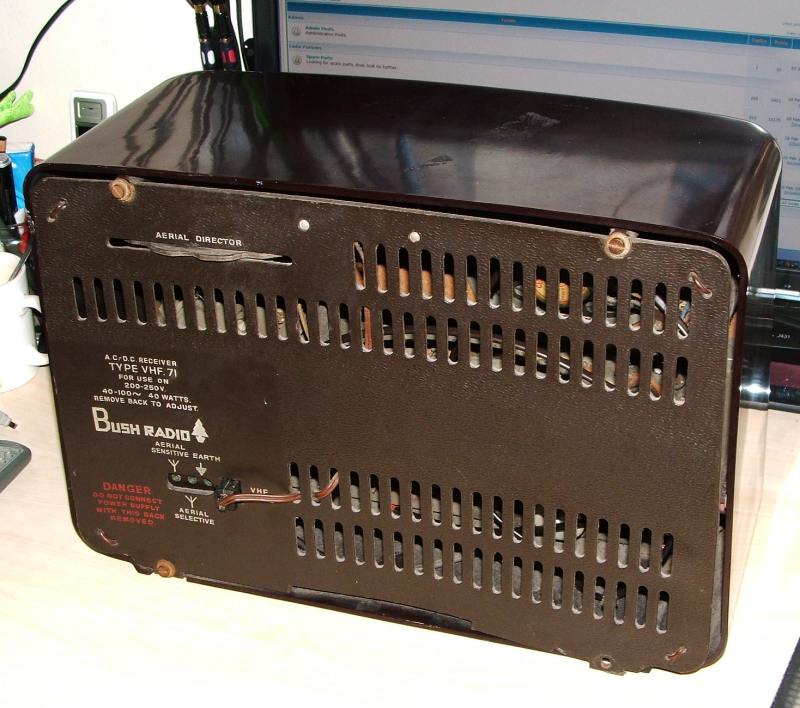
Bush VHF 71.
Restoration is now complete and the set in regular use in my bedroom. Definitely one of my easier success stories! It has lead to the move of the Defiant MSH452 AC to the lounge where it's better displayed...and more of a conversation piece for visitors!
Upon its arrival, a couple of very basic checks were carried out, basically checking that everything was there, and touching the output transformer primary terminals with those of a meter set to impedance resulted in a crackle, a good sign that it's intact. That's probably the hardest component in a set like this to replace - so with that intact, the project looks to be off to a good start.
No time was wasted on this one. Chassis was out the day after I got the set (which is a bit of an awkward operation in this set thanks to quite short leads to both the output transformer and the antenna which are both mounted on the speaker baffle. The service data (available from Paul Stenning's excellent website) suggests that the speaker and antenna support should be removed separately from the back panel, that's six very small nuts that need to be undone, for which I didn't have a spanner or socket to fit handy. Removing the entire speaker baffle however was considerably easier, and meant that the chassis could be manhandled with two hands, rather than three I'd otherwise need. If you do this, just make sure to be careful not to damage the fabric on the baffle.
Once the chassis was out, I removed the controls and the tuning scale, making sure to put it somewhere safe, as it's glass and breakable. On the subject of glass - at this stage too, all of the valves were removed and stored safely - having checked of course that they all had their markings, and if necessary writing what they are (or at least where they came from if you're not 100% sure that they're the correct valve) on them. While valves are generally very reliable, they are one of the most easily damaged parts of a set, especially when moving the chassis around - doubly so in a somewhat awkward two sided design like this. The UM80 tuning indicator has been left in place for now, as it is proving to be very difficult to get out of its socket, and it's pretty well protected by the rubber "jacket" that it's housed in, and the shaft of the tuning control and volume/tone controls should prevent it from getting crushed on the desk. I'm worried that I'll do more damage trying to get it out than I will leaving it in place. The white plastic diffuser for the dial lamps was first washed, and then stored along with the scale. It's become quite badly yellowed, but should still be serviceable, it has however become quite wavey, I may try heating it gently and applying pressure to see if I can flatten it a little later.
The chassis was then attacked with my favourite weapon combination, a vacuum cleaner and a soft paintbrush. I find that these are generally more than sufficient to remove the vast majority of the gunk, so long as the capacitors haven't dripped waxy gunk everywhere. In this case the aforementioned gunk is pretty localised, so was just quickly wiped off with some IPA.
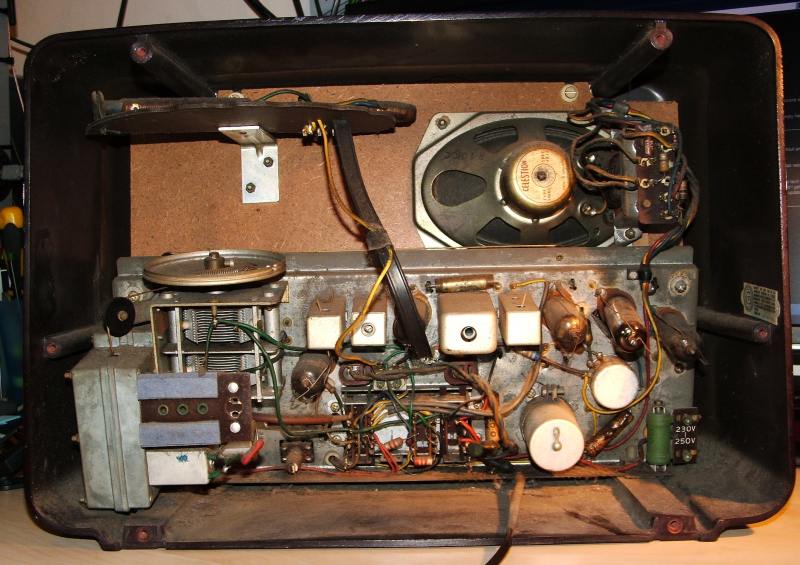
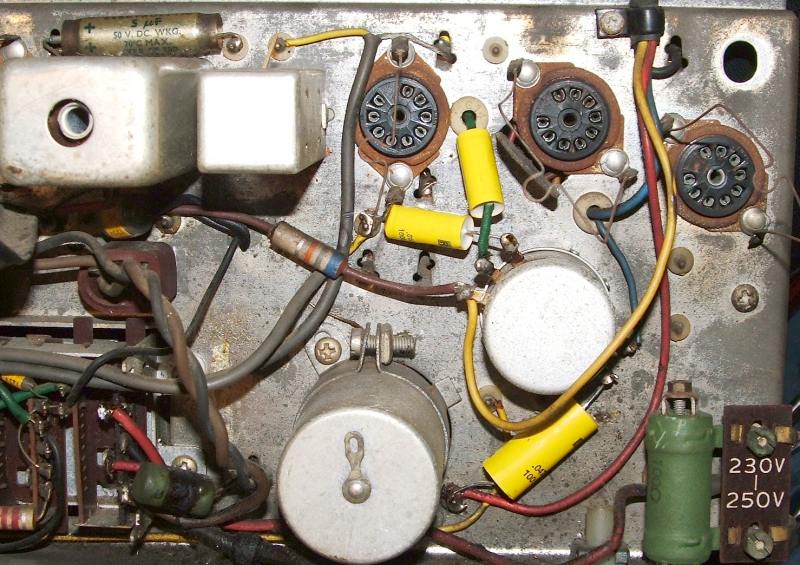
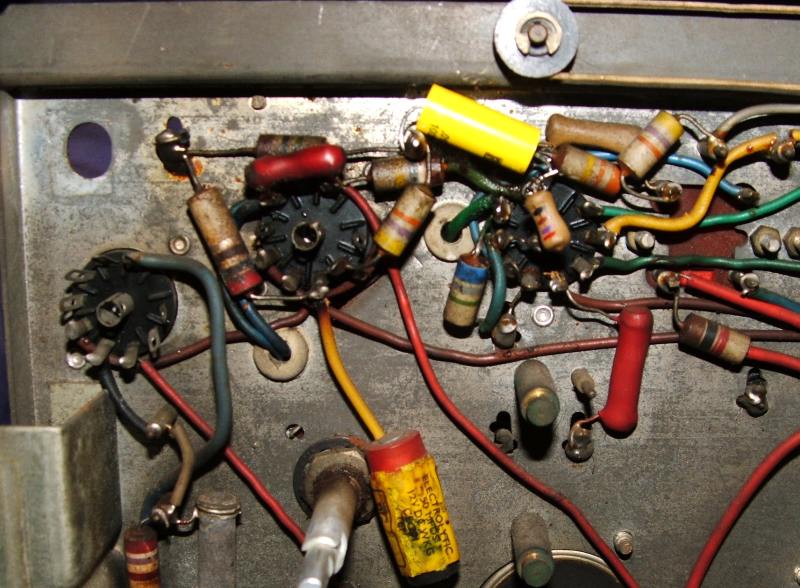
This is what the front of the chassis looked like once about a quarter of an inch of dust and cobwebs were removed.

There doesn't seem to be a huge amount to do at first glance! A handful of wax/paper capacitors, two brown Hunt's moulded ones, and two electrolytics.
The first electrical work that was done was to disconnect the leads from the smoothing capacitor cans and apply power there (via a limiting device such as the capacitor reformer described here), this revealed that I've been lucky, and the smoothing capacitors came straight up, so quickly in fact that I have to wonder if this set's been powered up quite recently. The colour of the wax that's oozed out of the knackered capacitors makes me think some time recently like the day before it was dropped off at the auction house where I picked it up!
This was immediately followed by blanket replacement of all the wax capacitors in the set. The range of capacitors I had in my parts drawer was quite limited, and I've replaced all that I have to hand. I'm waiting on the 0.04uF caps to replace the little brown Hunt's, the electrolytics, and a resistor to replace the toasted 59 ohm resistor that feeds the dial lamps, which has increased to 1.5K! Once those things have been replaced (not missing the Hunts or wax capacitor which both hide on the output transformer), we'll be ready to apply some power and see what happens...
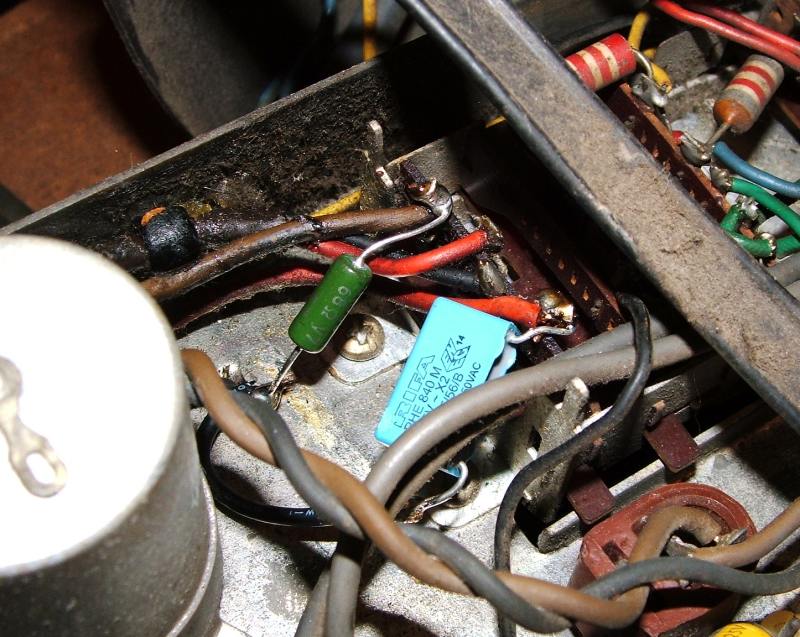
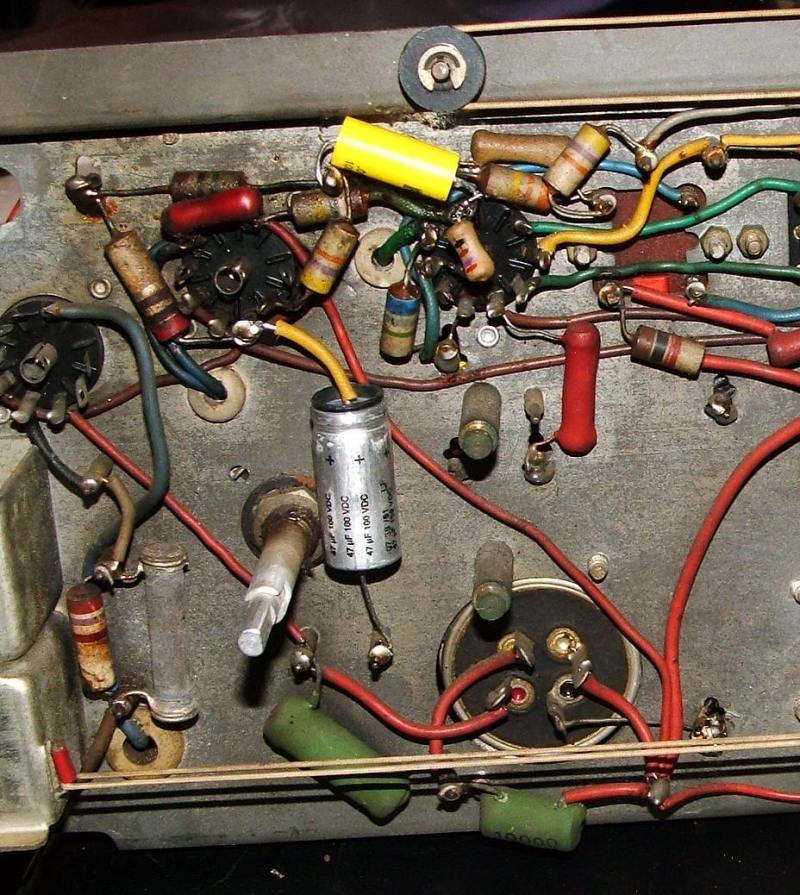
Couple of photos below just showing the recapping procedure while in progress. The 1KV rated polypropelene types from RS, while slightly more expensive than some of the alternatives are my favourites. Both being roughtly the same size as waxies, and very, very reliable makes them an obvious choice for me. They also have very long, flexible leads which makes them easy to work with.
The final electrolytics and wax caps were quickly dispatched once the parts from RS arrived (the exception being those in the can which still seem to be behaving themselves perfectly). This of course being a properly X2 rated cap as it's effectively connected across the mains. It's a bit awkward trying to connect a cap of this shape where an axial was originally used, and I did tidy things up a little after this photo was taken, the wire between the cap and chassis being shortened quite a bit.
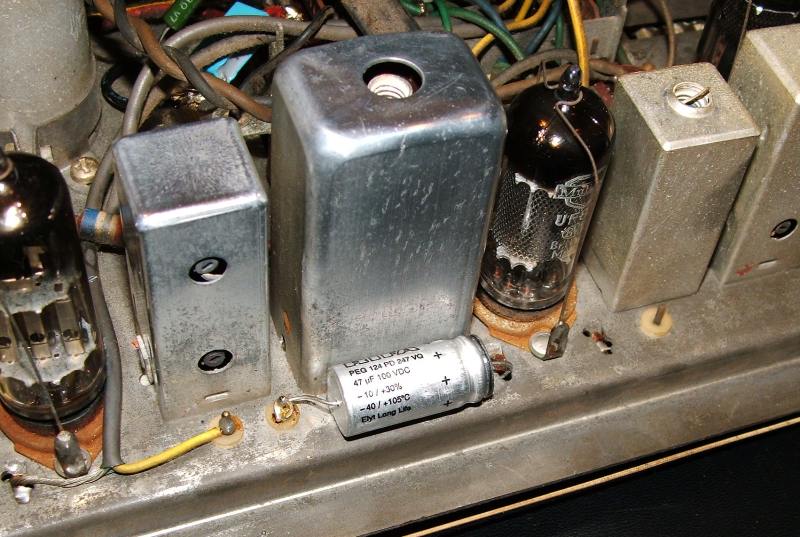
And here you can see the replacement for the red/black Plessy electrolytic you an see in the above photos. These metal cased caps are Rifa branded ones rated to 105 degrees C, which I would hope is more than sufficient for use in a radio! They also look somewhat more at home in a radio like this than the brightly coloured modern caps you tend to see - and have long, flexible leads. When talking about high voltage axial electrolytics, your choice these days tends to be rather limited.
The final electrolytic which I very nearly forgot about when working on the set.
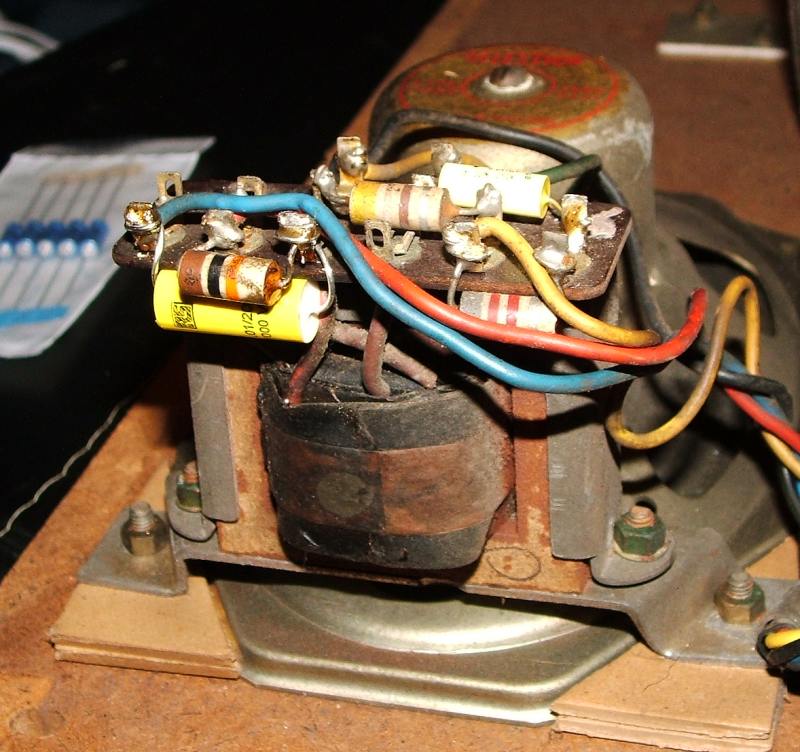
Not forgetting of course, the two waxies which hide on the output transformer, just waiting to trip you up if you're not paying attention.
As it turned out, this and a replacement scale lamp was all this set needed really. Upon reassembly it worked very well, though it does need a decent antenna for FM reception. Once that antenna is attached though it perfoms very well. I've not quite figured out how Bush have managed to get such punch out of a relatively small speaker yet, but they've managed it somehow.
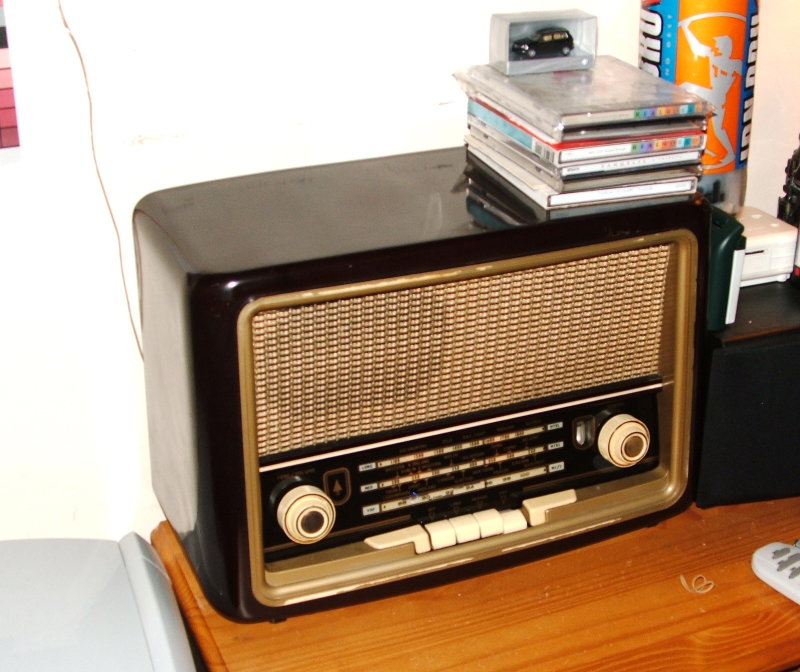
This set is one which I actually use on a more or less daily basis, hence it being somewhat surrounded by miscellaneous junk on the bedside cabinet in the photograph below.
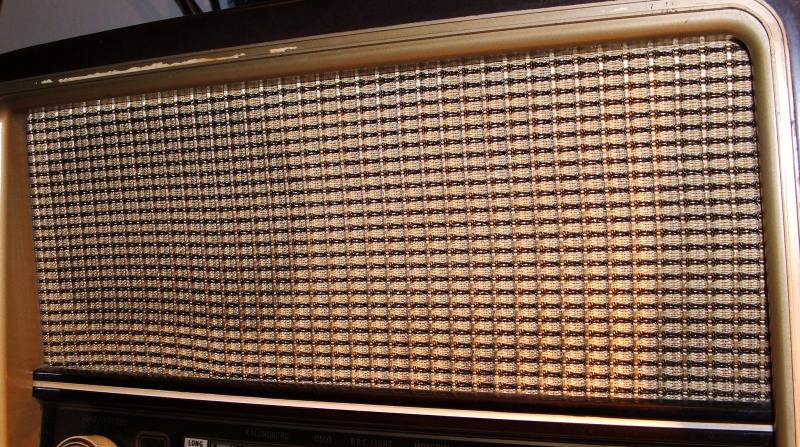
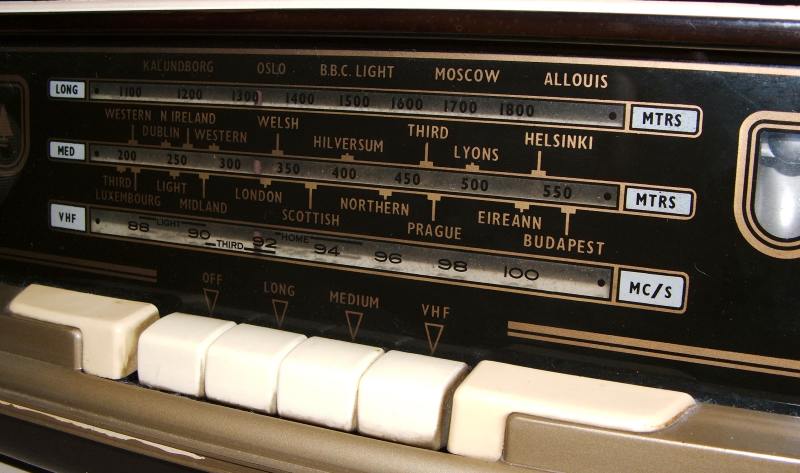
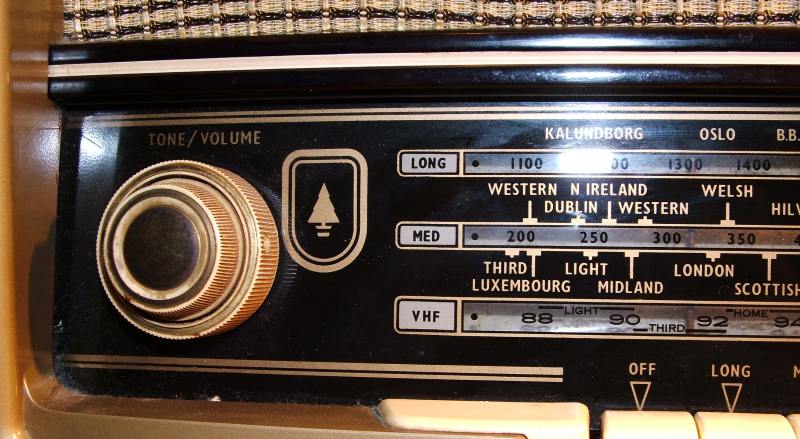
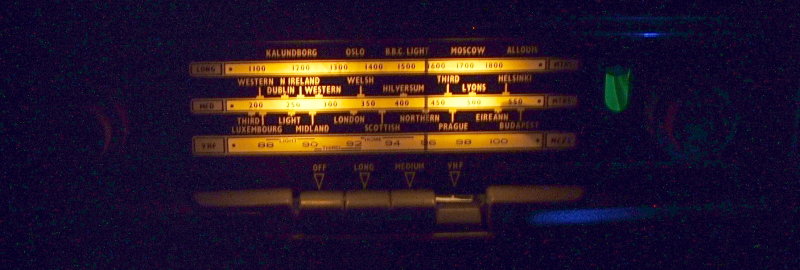
Of course, one of the very important details of radios of this era (to me anyway!) is that they light up when on. This Bush is no exception, with a backlit tuning scale and transparent gold print providing a very clear display. It's not quite as bright and is rather smoother than the photograph below makes it appear - the blue reflection is from the completely over-the-top power indicator on my PC on the far side of the room, which manages to make the entire room glow blue with the lights off!
This set still needs a couple of bits of work done, but nothing major, so they'll probably be done as and when I get a chance.
Updates:
25th January 2021: Minor page formatting changes to improve usability on mobile devices.
28th April 2023: Revised Statcounter code to allow for HTTPS operation.
![]()
![]()